


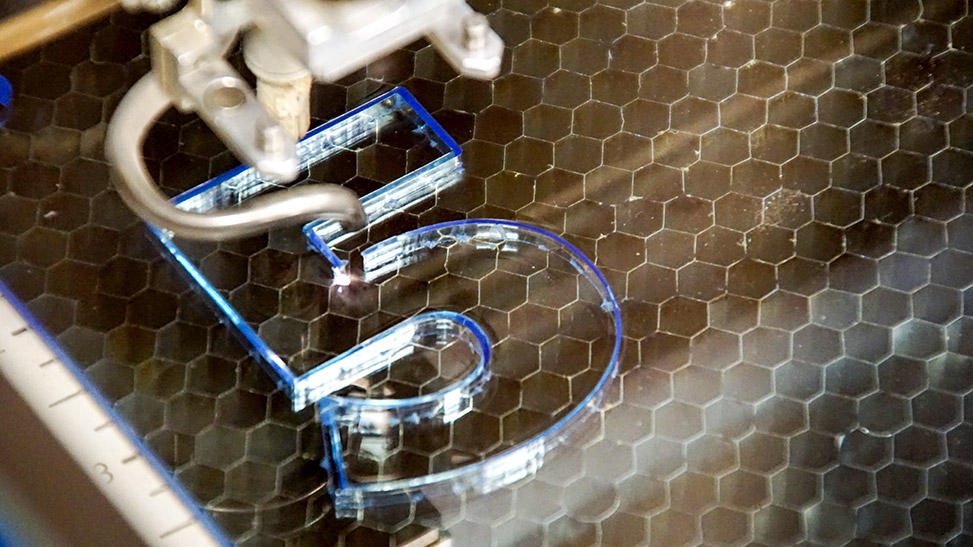
Laser Engraving Acrylic
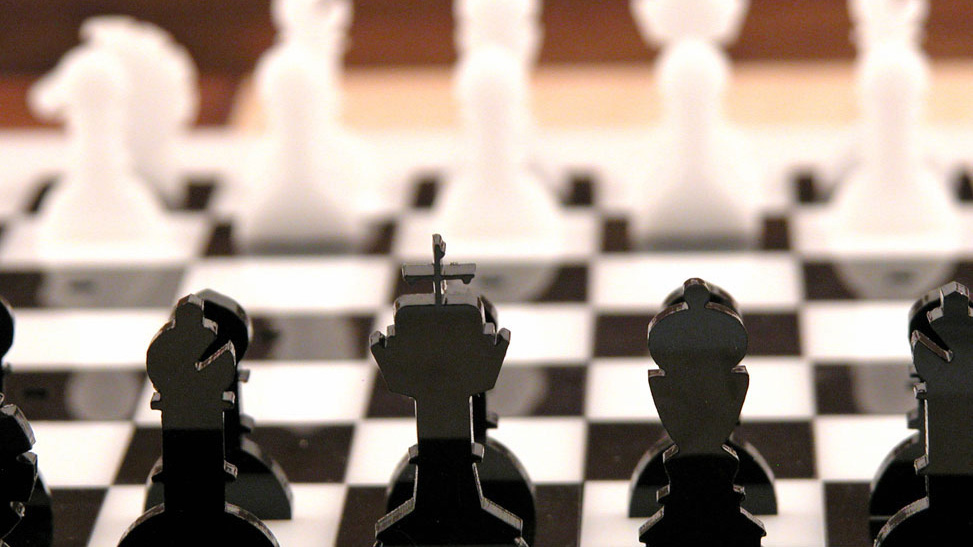
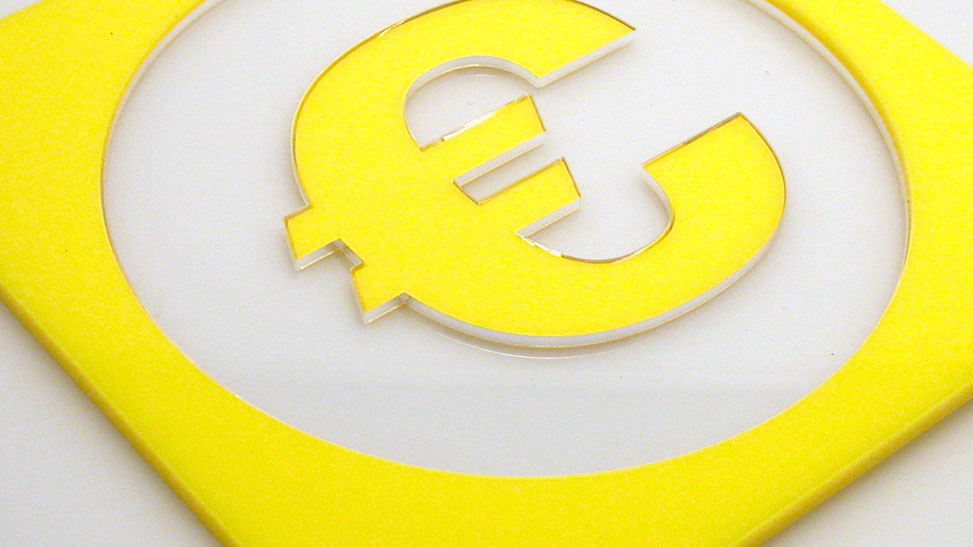
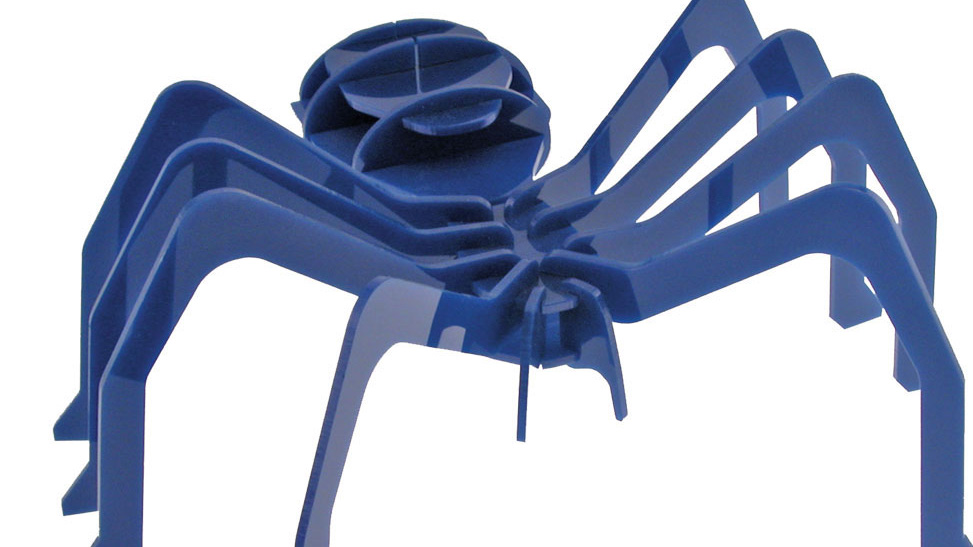
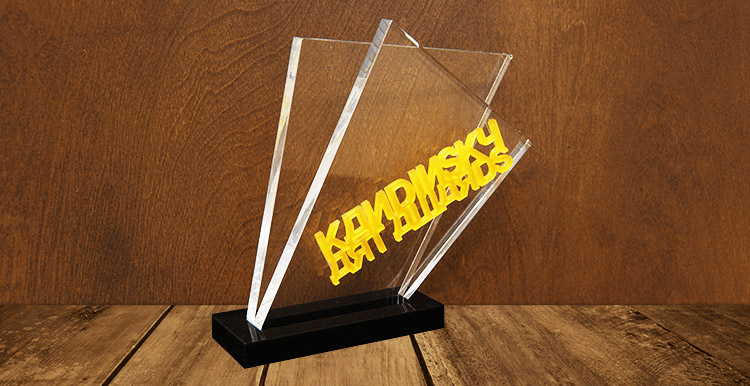
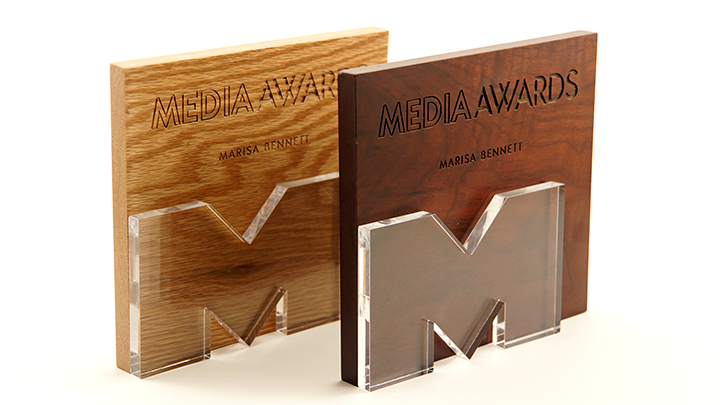
For the most part, laser users engrave acrylic on the back side to produce a look-through effect from the front. You’ll see this often on acrylic awards.
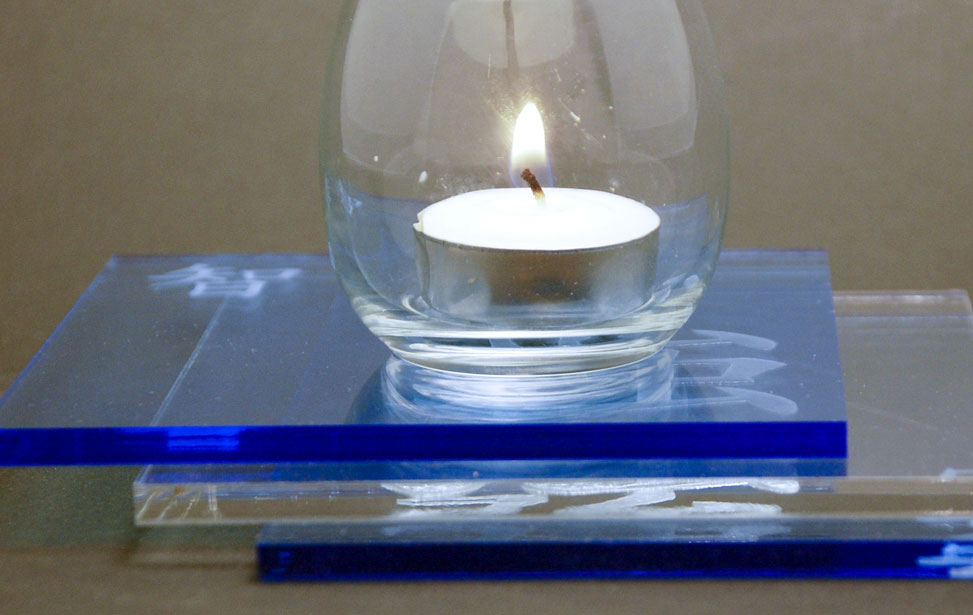
Acrylic sheets typically come with a protective adhesive film on the front and back to prevent it from getting scratched. We recommend removing the protective adhesive paper from the back of the acrylic before engraving, and leaving the protective cover layer on the front to prevent scratching while handling the material. Don’t forget to reverse or mirror your artwork before sending the job to the laser since you’ll be engraving the back side.
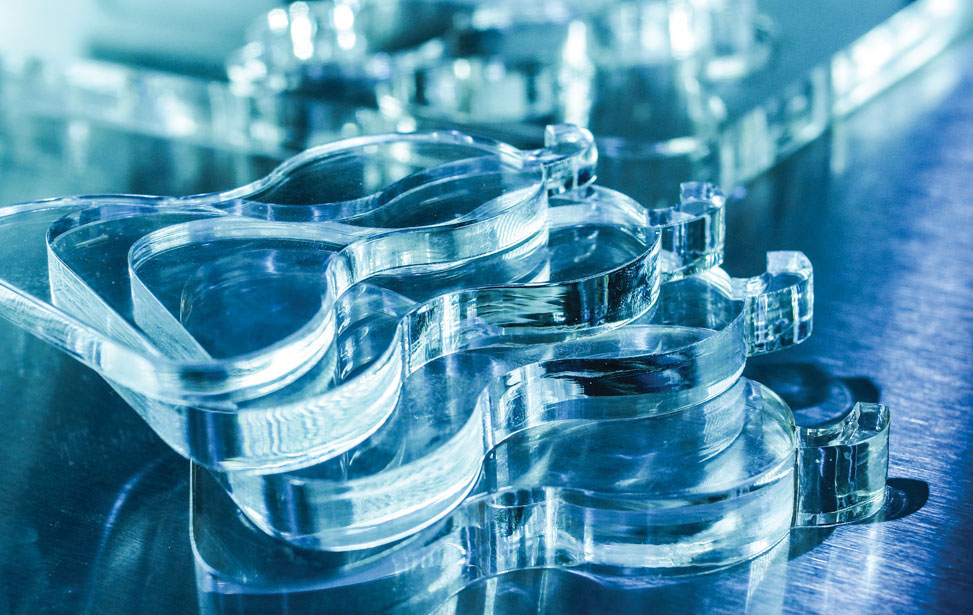
Acrylics generally engrave well at a high speed and low power. It doesn’t take much laser power to mark the acrylic, and if your power is too high you’ll notice some distortion in the material.


Sample Club


-

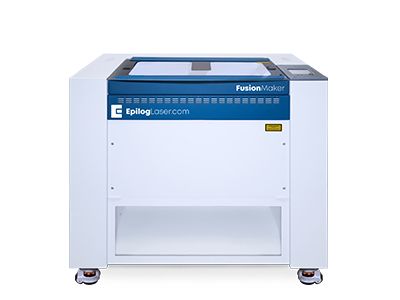
Fusion Maker 12
Work Area24″ x 12″
(610 x 305mm)TypeCO2
Wattage30-40
The newest in Epilog’s laser lineup, the Fusion Maker was designed for the entry-level hobbyist or small business owner. This compact system features up to 60 IPS engraving speeds and our popular IRIS Camera System. -
FUSION MAKER 24
Work Area24″ x 24″
(610 x 610mm)TypeCO2
Wattage40
Featuring a 24” x 24” engraving table and available in a 40-watt configuration, the Fusion Maker 24 offers users a larger engraving table and more z-clearance to tackle bigger projects. -
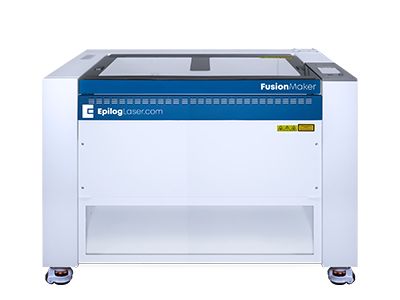
FUSION MAKER 36
Work Area36″ x 24″
(915 x 610mm)TypeCO2
Wattage40-50
The largest in the Fusion Maker Laser Series, the Fusion Maker 36 features a 36” x 24” workspace and 50 and 60-watt configuration options. All of the Fusion Maker systems include our IRIS Camera System and 60 inches per second engraving speeds. -
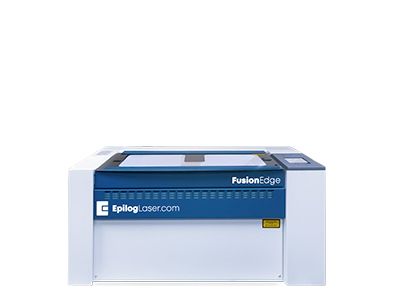
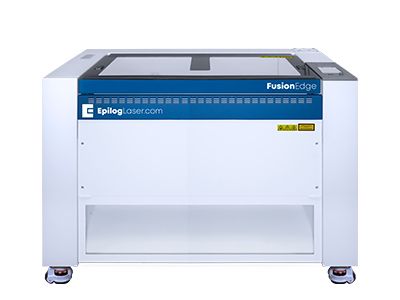
Fusion Edge 12
Work Area24″ x 12″
(610 x 305mm)TypeCO2, Fiber
Wattage30-60
Our compact laser system available in several wattage configurations and features up to 120 IPS/3.05 m/s engraving speeds. Also available with a fiber laser source. -
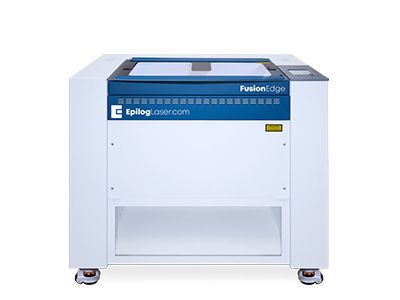
Fusion Edge 24
Work Area24″ x 24″
(610 x 610mm)TypeCO2
Wattage50-60
A mid-size system that includes Epilog’s IRIS Camera System. -
Fusion Edge 36
Work Area36″ x 24″
(914 x 610mm)TypeCO2
Wattage60-100
The largest system in the Fusion Edge Series, the Edge 36 offers a 36” x 24” (914 x 610 mm) engraving table and comes in a 60-watt CO2 configuration. The Edge 36 features 120 IPS/3.05 m/s engraving speeds, and features built-in Ethernet, USB, and Wireless options for networking your laser. -
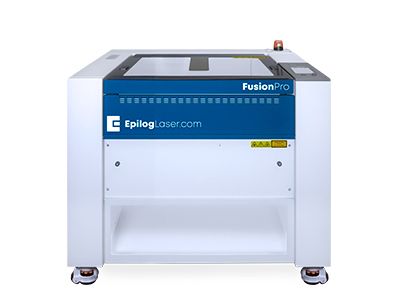
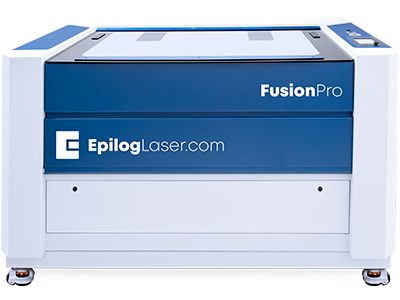
Fusion Pro 24
Work Area24″ x 24″
(610 x 610mm)TypeCO2, Fiber, Dual
Wattage30-100
The smallest in our industrial Fusion Pro Laser Series, the Pro 24 is available in 60 or 100 watts and can be configured as a dual-source system with both CO2 and fiber laser capabilities. -
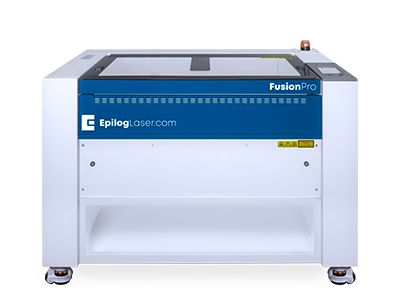
Fusion Pro 36
Work Area36″ x 24″
(914 x 610mm)TypeCO2, Dual
Wattage30-120
Like all systems in the Fusion Pro Laser Series, the Pro 36 includes Epilog’s IRIS Camera System, along with engraving speeds up to 165 inches per second (4.2 m/s). -
Fusion Pro 48
Work Area48″ x 36″
(1219 x 914mm)TypeCO2, Dual
Wattage50-120
The largest of the Fusion Pros, this industrial system is available in 80, 100, and 120-watt configurations, as a dual-source system, and can be networked via built-in Ethernet, USB or wirelessly.


